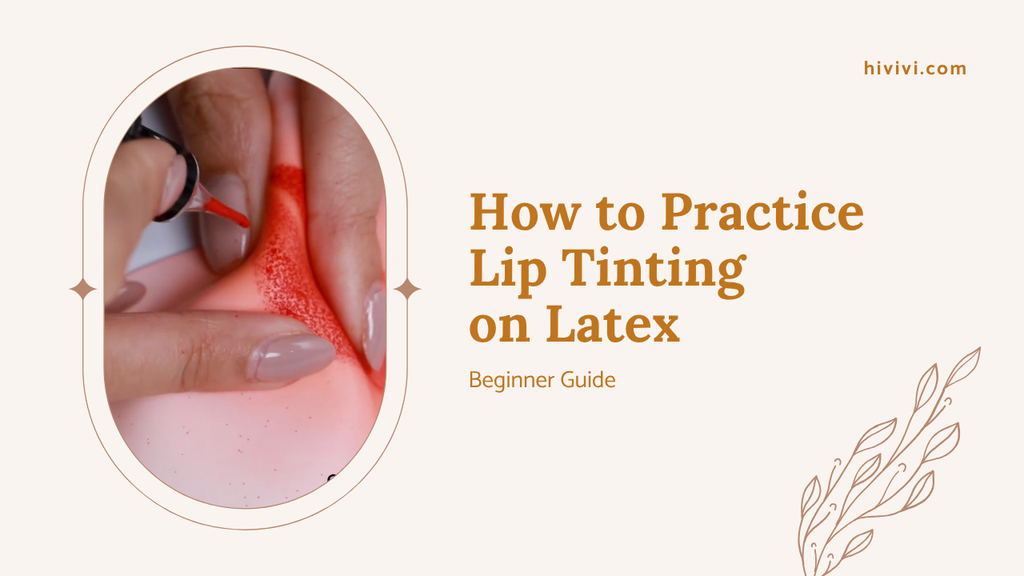
How to Practice Lip Tinting on Latex (Beginner Guide)
2025-06-24 04:15:20
,
Beauty health care
Learn how to start practicing lip tinting on latex like a pro. A complete step-by-step guide for PMU beginners with tools, tips, and expert advice.
If you’re new to permanent makeup and want to build your skills before working on real clients, practicing lip tinting on latex is one of the best places to start. It allows you to master machine control, develop shading techniques, and gain confidence without the pressure of human skin.
In this guide, we’ll walk you through everything you need to know: from choosing the right tools and setting up your workspace to practicing real PMU techniques on latex skins. Whether you’re a student, a new artist, or just starting your PMU journey, Hivivi is here to help you learn the right way practically and professionally.
Why practicing lip tinting on latex is essential
Latex practice skins are a safe, affordable, and effective way to build your PMU skills. Before you ever touch a client’s face, latex gives you the space to make mistakes, learn from them, and refine your technique.
Here’s why it matters:
- Muscle memory: Repetition on latex helps build the hand control needed for smooth, consistent passes.
- Technique testing: Try out different needle configurations, shading patterns, and pigment layering.
- Symmetry & design: Practice shaping and perfecting lip outlines with stencils or freehand drawing.
- Mistake-friendly: Unlike skin, latex allows endless do-overs making it ideal for learning.
Many trainers and master artists recommend dedicating at least a few hours per week to latex work before taking on live models.
What you need before you start practicing on latex
Before you begin, make sure your setup mimics a real working environment. This helps you develop habits that will carry over into client procedures.
Recommended latex skins for lip practice
- Use blank latex sheets for freehand drawing and tracing with stencils.
- Use pre-drawn lip outlines to focus on needle movement and shading.
- Choose latex that mimics human skin texture - firm, flexible, and not too glossy.
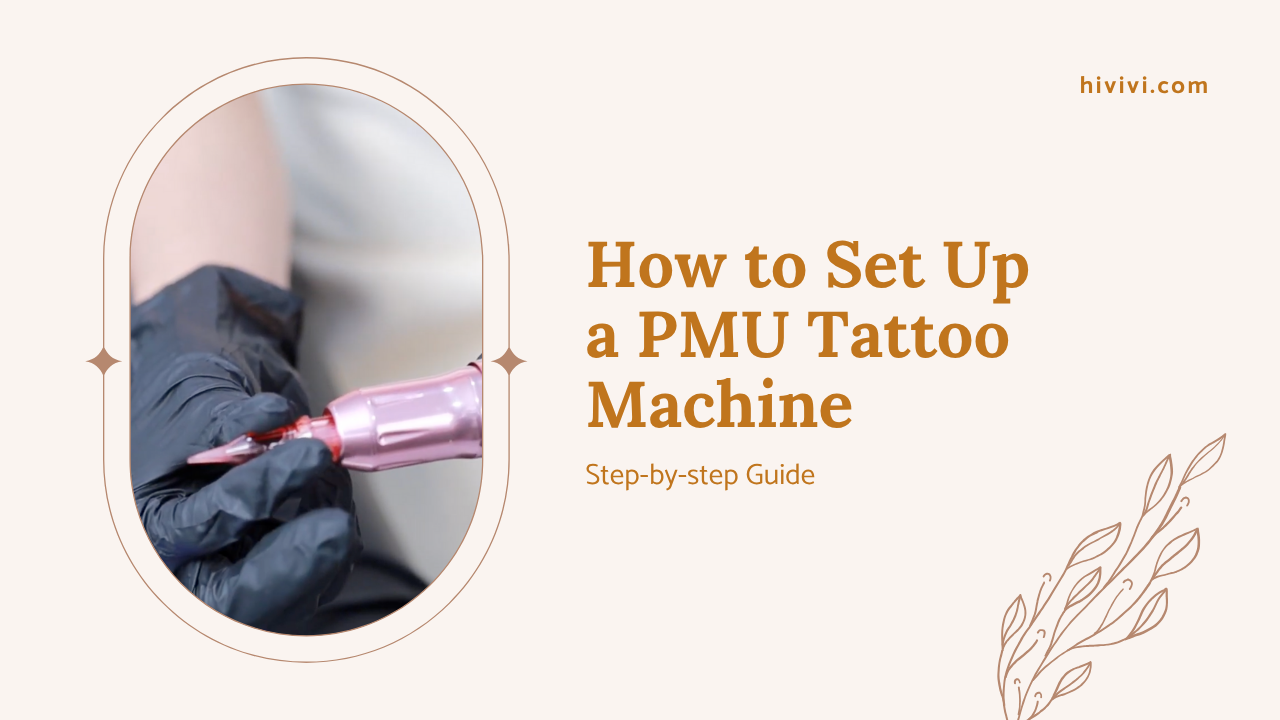
PMU machine and needle setup
- Choose a lightweight, quiet PMU machine with adjustable voltage.
- For lips, start with 1RL (round liner) for outlines and 3RS or 5RS (round shaders) for shading.
- Set your voltage between 6.0–7.5V, depending on your machine and hand speed.
Pigments and other tools
- Use practice pigments or dilute real pigments with distilled water.
- Keep wipes, barrier film, gloves, and cotton pads on hand.
- A practice stand or holder can help stabilize your latex sheet.
How to prepare your latex for lip tinting practice
A clean, organized setup leads to better results - and builds habits that ensure client safety in the future.
Set up your workspace
- Lay down dental bibs or barrier film to protect surfaces.
- Sanitize your hands and tools, even when practicing.
- Use bright, even lighting and a ring light if possible.
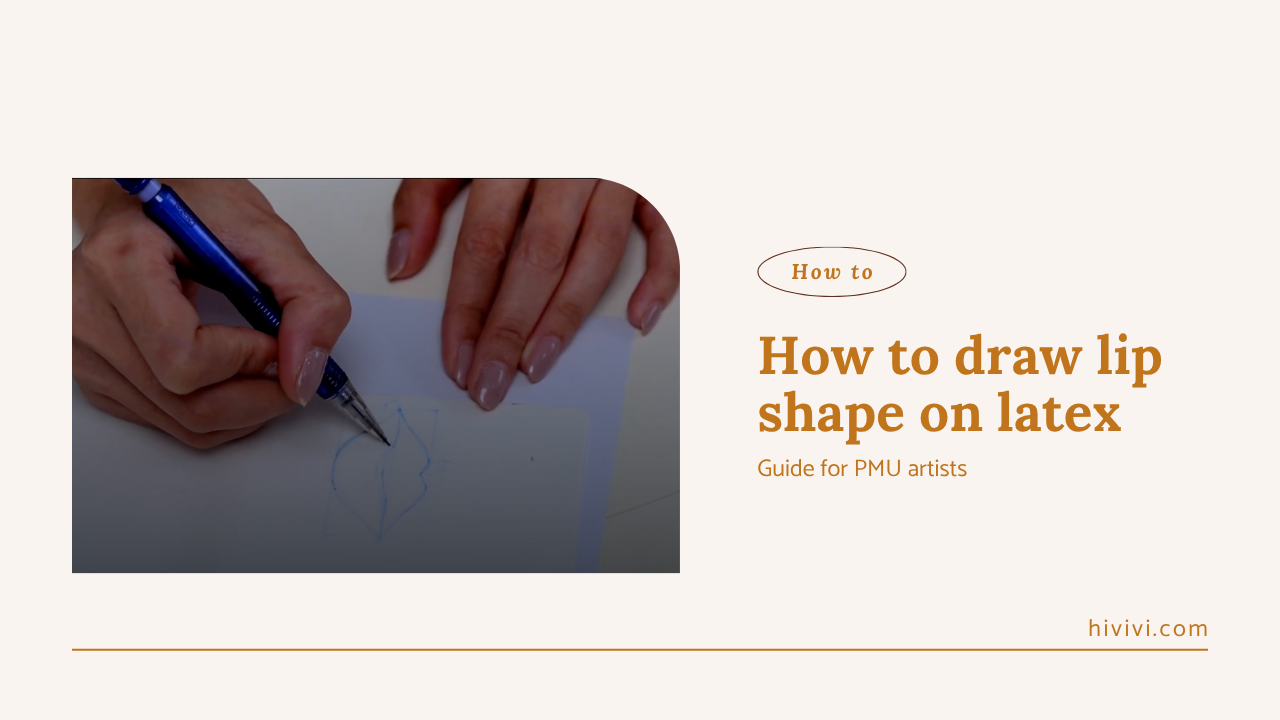
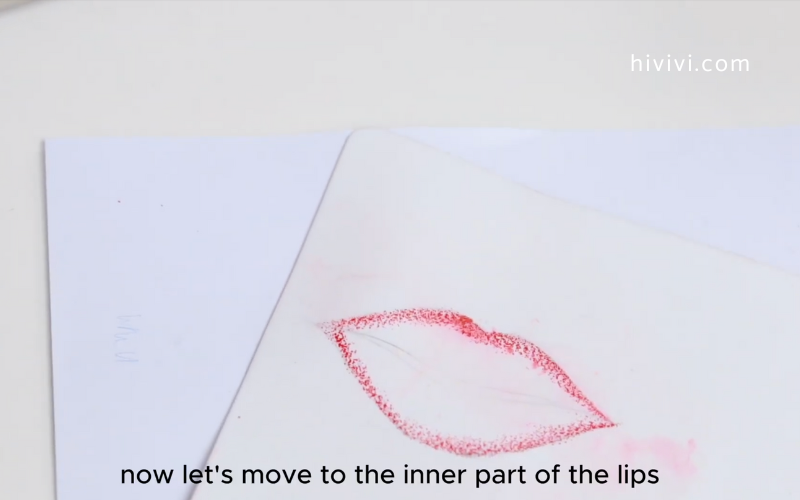
Draw or stencil your lip shape
- Use a lip ruler or printable stencil to outline ideal lip proportions.
- Start by drawing symmetrical lips with pencil or pre-inked marker.
- Make sure your lips are centered, balanced, and sized realistically.
If you’re unsure how to start, check out our full guide on how to draw lip shapes on latex.
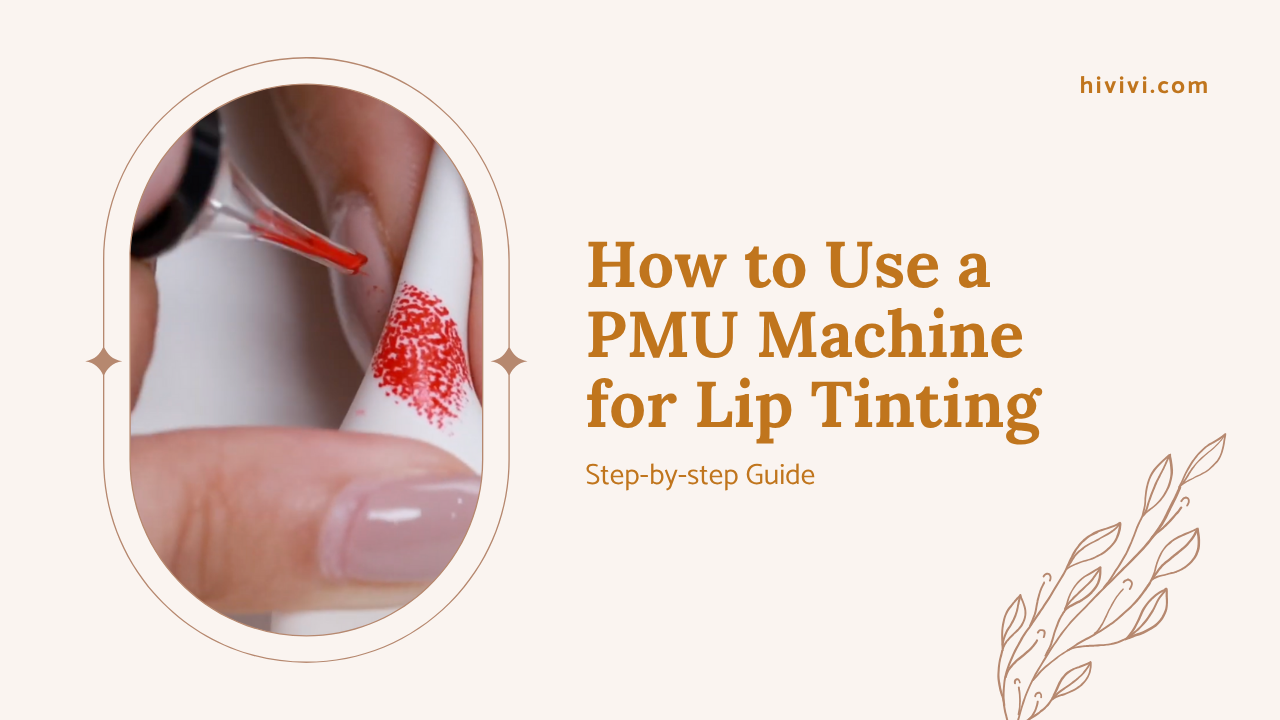
Practicing lip tinting techniques on latex
Once your setup is ready, it’s time to focus on technique. Here are the essential skills to master on latex:
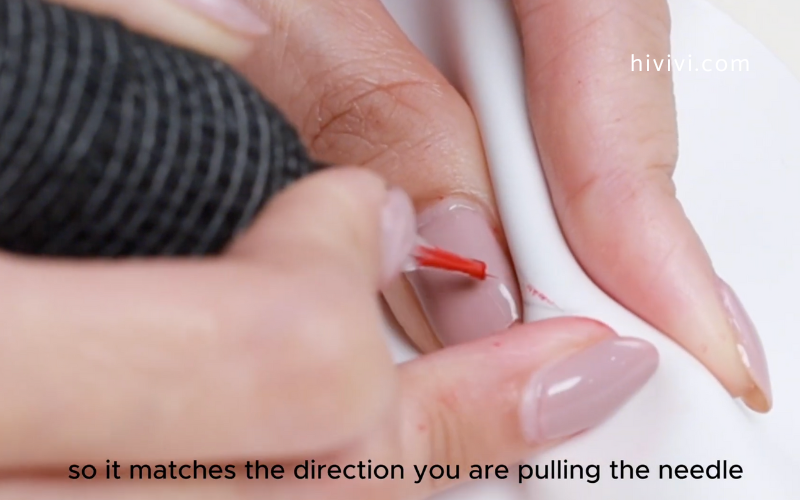
Start by practicing hand movement and machine control. Try basic techniques like whip shading, circular shading, and pendulum motion. These movements help you build rhythm and consistency.
Keep your wrist relaxed and use your fingers to guide the motion - not your whole arm. Focus on slow, even passes. Rushing leads to uneven pigment saturation and inconsistent results.
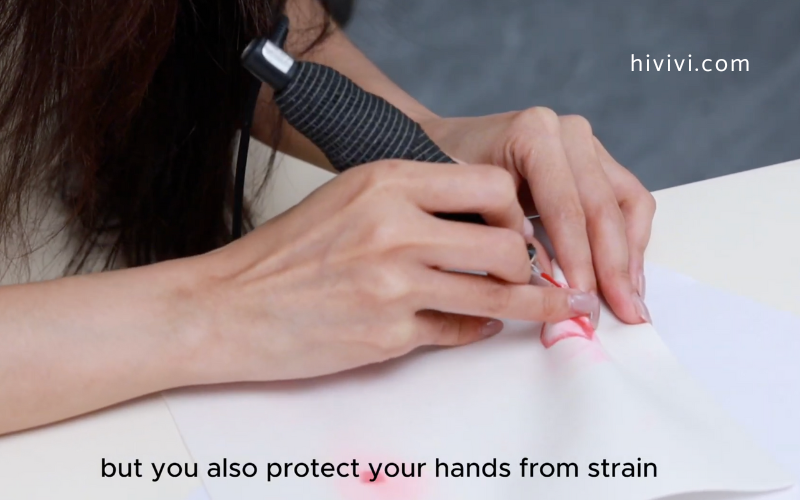
Although latex doesn’t stretch like real skin, it’s still helpful to simulate stretching. Use one hand to hold the latex sheet taut while you work. This improves your line accuracy and gives you more control during detailed work like outline lip shape and color shading.
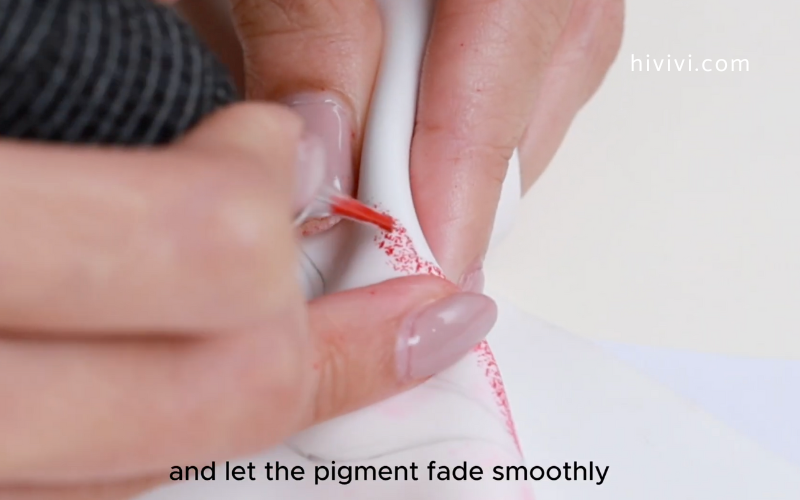
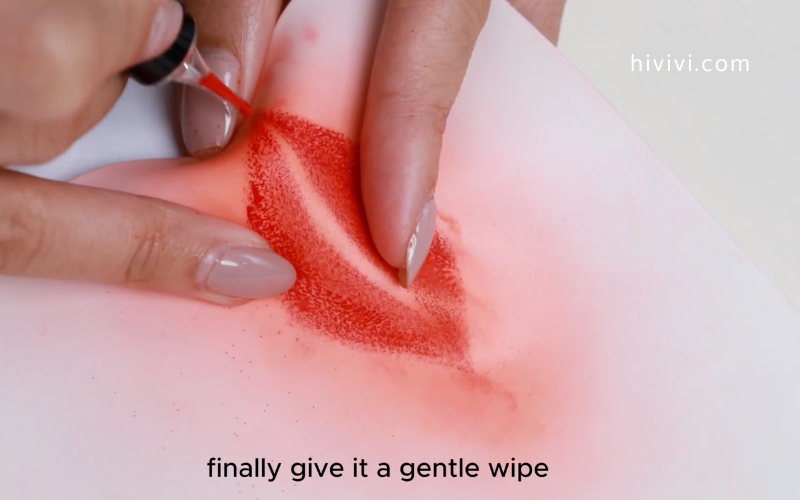
When it comes to building color, avoid trying to fully saturate the area in one go. Just like in real procedures, you’ll want to work in layers. Start with a light base and gradually build depth and softness with each pass. Let the “skin” rest between layers so you can evaluate your shading and density.
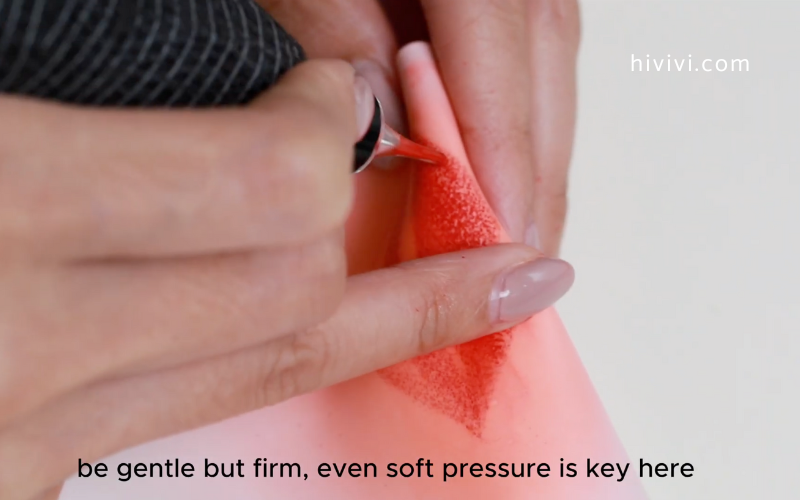
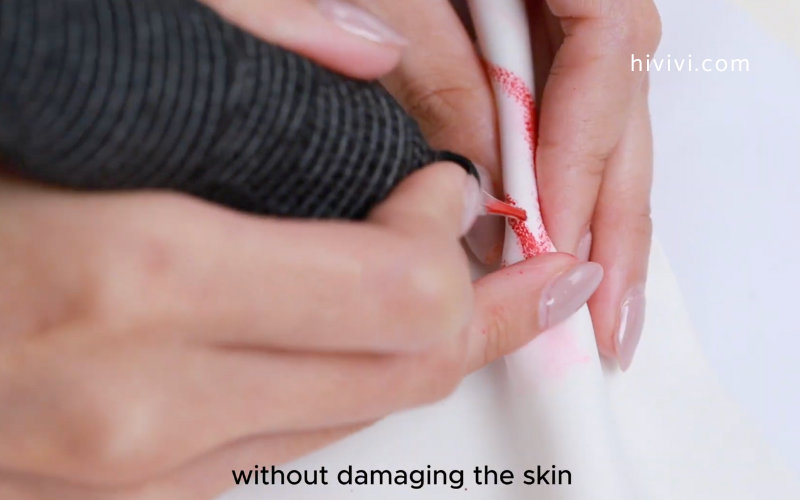
Finally, pay close attention to pressure. If you notice pigment pooling or dragging, you’re pressing too hard. A good rule of thumb is to let the weight of the machine do the work. Don’t force it; this builds better habits for real-life procedures and protects your clients’ skin in the future.
Common mistakes to avoid
Even in practice, certain habits can hold you back or create unrealistic expectations. Watch out for these:
- Skipping warm-up lines: Start each session by practicing lines on the edges of latex to warm up.
- Practicing too fast: Going quickly leads to poor technique. Precision > speed.
- Using the wrong needle for shading: Start with 3RS or 5RS - not just liners.
- Overworking one area: Pigment won’t implant better; it just damages the surface (and can burn real skin).
- Not cleaning latex properly: Wipe off excess pigment between passes to see your results clearly.
Pro tips to improve your lip tinting practice
- Track your progress: Take photos of each practice sheet and label them by date.
- Use a mirror or record videos to check your posture, angle, and hand movement.
- Join PMU training groups or online forums for feedback.
- Simulate real sessions: Time yourself, keep your setup consistent, and limit breaks.

Final thoughts: consistency builds confidence
Like any artistic skill, mastering lip tinting takes time, patience, and the right mindset. Practicing on latex is more than just a step; it's the foundation of your PMU journey. At Hivivi, we’re here to support you with quality tools, expert insights, and a growing community of artists.
Ready to take your practice to the next level? Explore our full range of PMU latex skins, machines, and training resources.
FAQs about practicing lip tinting on latex
What is the best latex skin to practice lip tinting on?
Thin, skin-like latex sheets with pre-drawn lip outlines or transparent blank sheets are ideal for beginners.
How often should I practice lip tinting as a beginner?
Aim for 3–5 sessions per week. Short, focused sessions (30–60 minutes) are more effective than long, infrequent ones.
Can I reuse latex practice skins?
Yes, but only a few times. Overworked areas lose texture and don’t hold pigment realistically.
Should I use real pigments when practicing?
You can, but practice pigments or diluted versions are better for saving products while building technique.
How do I clean my PMU machine after latex practice?
Wipe down surfaces, flush the needle with sterile water, and follow your standard sanitation routine.