How to draw lip shape on latex: Guide for PMU artists
2025-06-24 04:10:33
,
Beauty health care
Learn how to draw lip shapes on latex for PMU practice with this step-by-step guide, perfect for beginners building confidence and precision.
Drawing lip shapes on latex is one of the most essential skills every PMU (Permanent Makeup) artist must master before working on real clients. Whether you’re a beginner building your foundational technique or a practicing professional refining symmetry and precision, working on latex skins gives you the space to improve confidently without the pressure of real skin.
In this guide, we’ll walk you through how to draw lip shape on latex step-by-step, with tips, tools, and common mistakes to avoid so you can practice like a pro and prepare for stunning lip blush results.
Why practicing lip shapes on latex matters
Before a PMU artist ever picks up a machine, practicing on latex helps develop:
- Muscle memory and hand control
- Symmetry and understanding of lip proportions
- The ability to work on different lip shapes and sizes
Latex sheets are designed to simulate the texture and resistance of real skin, making them ideal for realistic practice. You’ll find both blank latex pads and printed latex sheets (pre-marked with lip outlines) available, each useful for different levels of training.
For the best results, it’s important to first draw lip shape on paper or skin before transitioning to latex for deeper muscle memory training.
Tools and materials you’ll need
Here’s what you’ll need to start drawing lip shapes on latex:
- Flat or 3D latex practice skin (with or without printed lip guides)
- PMU lip mapping pencil or fine-tip skin marker
- Ruler, BB compass, or caliper for symmetry and proportions
- Q-tips or makeup sponges (if using liquid latex for SFX practice)
- Reference images of real lips or PMU mapping examples
Tip: Hivivi offers premium latex pads and PMU practice tools curated for beginners.
Step-by-step: how to draw lip shape on latex
Step 1: Prepare your latex skin
Start with a clean, dry latex sheet. If it’s slipping on your surface, tape it down or use a non-slip mat underneath. Choose flat latex for easier sketching, or 3D latex to simulate real contour.
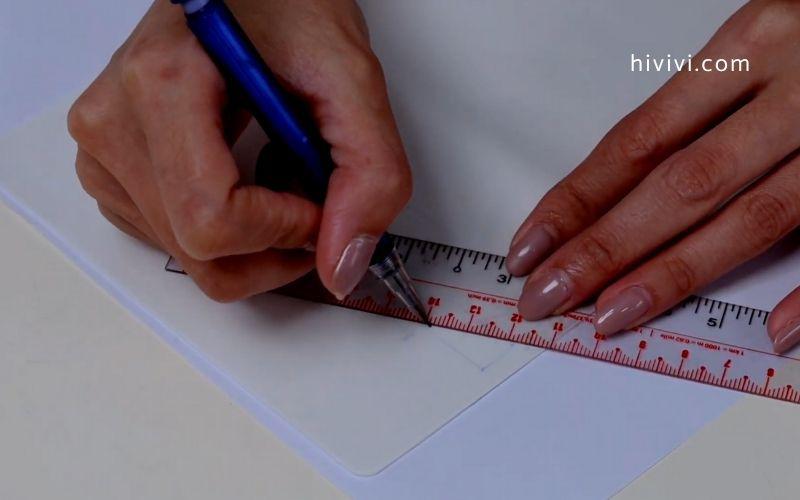
Step 2: Mark the center line
Draw a straight vertical midline to divide the lips in half. This line acts as your symmetry anchor. You can use a ruler, caliper, or BB compass to ensure accuracy.

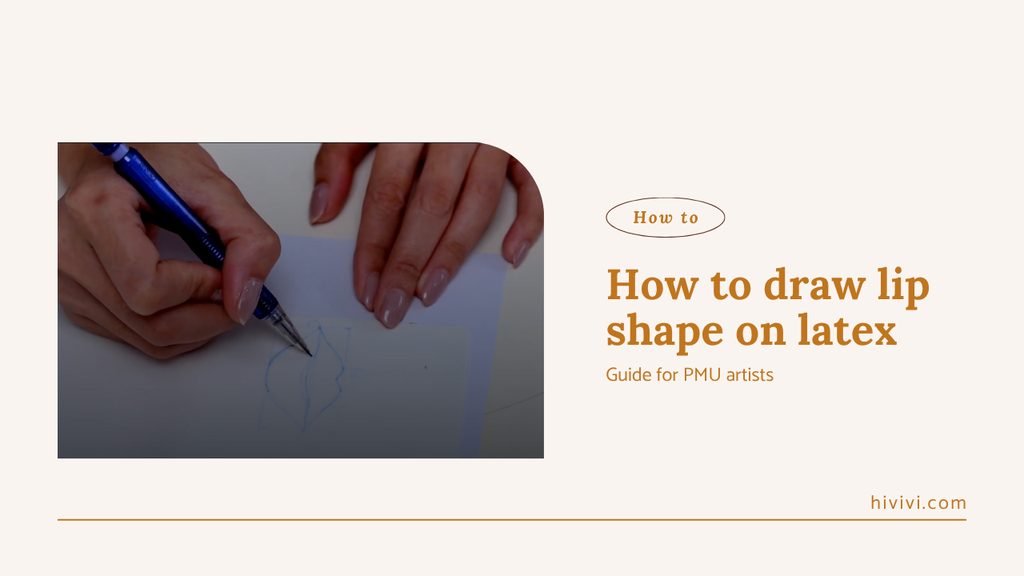
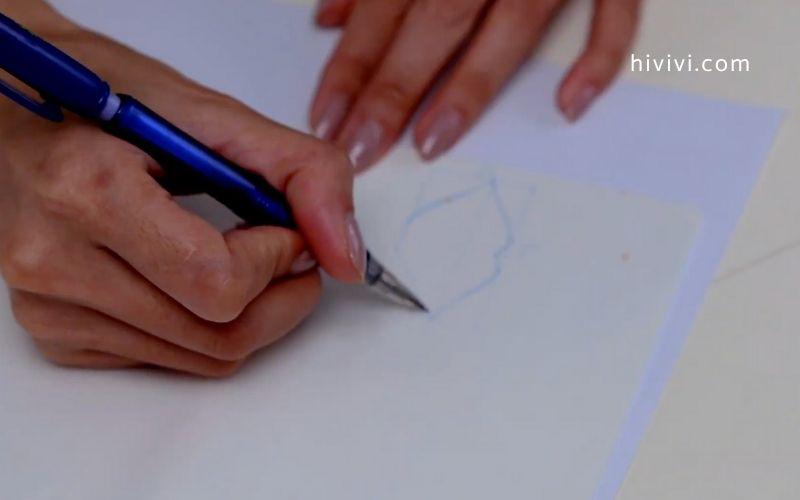
Step 3: Outline the cupid’s bow
Start by placing two small dots at the peaks of the cupid’s bow. Connect them with a gentle curve. This is the most defining feature of the upper lip, so take your time to make it even and balanced.
Step 4: Extend the upper lip to the corners
From the peaks, draw a smooth line that arcs toward the corners of the mouth. Ensure both sides mirror each other. You can apply the Golden Ratio (1:1.618) as a proportional reference if desired.
Step 5: Draw the bottom lip
Begin from the center of the bottom lip and sketch an upward curve to each corner. The bottom lip is usually fuller but should maintain balance with the top. Avoid over-drawing.
Step 6: Check and refine your outline
Use a ruler or caliper to double-check the height and width of both sides. Erase and redraw if necessary. Your final outline should look clean, symmetrical, and natural.
Tips for realistic lip drawing
To make your lip outlines look more professional and natural:
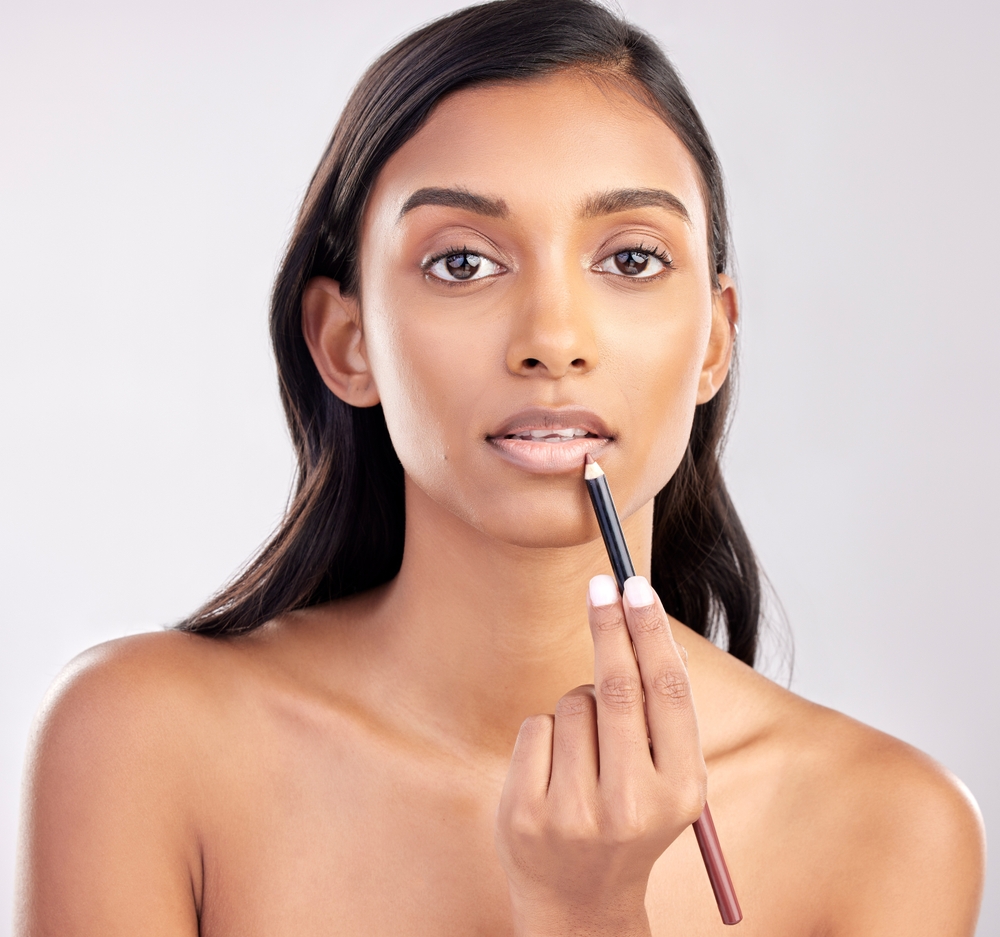
- Study lip anatomy: learn the vermilion border, lip peaks, and lower lip curves
- Use reference photos or mimic real lip shapes from your past clients
- Try overlapping lines for depth and curvature
- Practice a variety of shapes: thin lips, full lips, asymmetrical lips
Common mistakes to avoid
Even advanced artists make these mistakes during practice:
- Skipping the center line → leads to uneven lips
- Overdrawing the lip border → makes the lips look unnatural
- Applying too much pressure → damages the latex or creates jagged lines
- Not checking proportions regularly → results in visual imbalance
Always pause and correct before moving on to prevent bad habits from forming.
Build confidence with consistent practice
Mastery comes from repetition and reflection. To level up your practice:
- Use printed latex sheets to improve speed and accuracy
- Record yourself while drawing to observe hand positioning
- Try practicing with your non-dominant hand to improve control
- Regularly review your progress and challenge yourself with new shapes
Ready for the next step? Try lip tinting on latex
Once you’re confident with outlines, it’s time to transition into shading and coloring. Start using your PMU machine to practice lip blush techniques on the same latex pads.
You can now practice lip tinting on latex using your PMU machine to simulate real lip blush results and enhance your skill set further.
FAQ: how to draw lip shape on latex
Why is latex used for PMU practice?
Latex simulates the texture of real skin, allowing artists to build muscle memory and master symmetry without working on live models.
How do I know if my lip shape is symmetrical?
Use tools like a ruler, BB compass, or caliper to measure both sides. Mark the midline clearly and check both height and width consistently.
What tools are best for beginners practicing on latex?
Start with flat latex pads, PMU mapping pencils, and reference images. As you progress, try 3D latex and printed guides for added difficulty.
How often should I practice drawing lip shapes?
Aim for daily practice or at least a few times per week. Consistency builds confidence and refines technique over time.
What’s the next skill after drawing outlines on latex?
Once outlines are clean and symmetrical, move on to lip tinting or shading practice using your PMU machine.
Conclusion
Learning how to draw lip shape on latex is a crucial foundation for every PMU artist. It’s not just about lines, it's about developing precision, understanding proportions, and building the confidence to work on real clients.
Keep practicing, stay patient, and trust the process. Every stroke you make on latex brings you one step closer to becoming a truly skilled PMU artist.
Need tools to get started? Browse Hivivi’s curated PMU practice supplies and courses designed to support your journey.