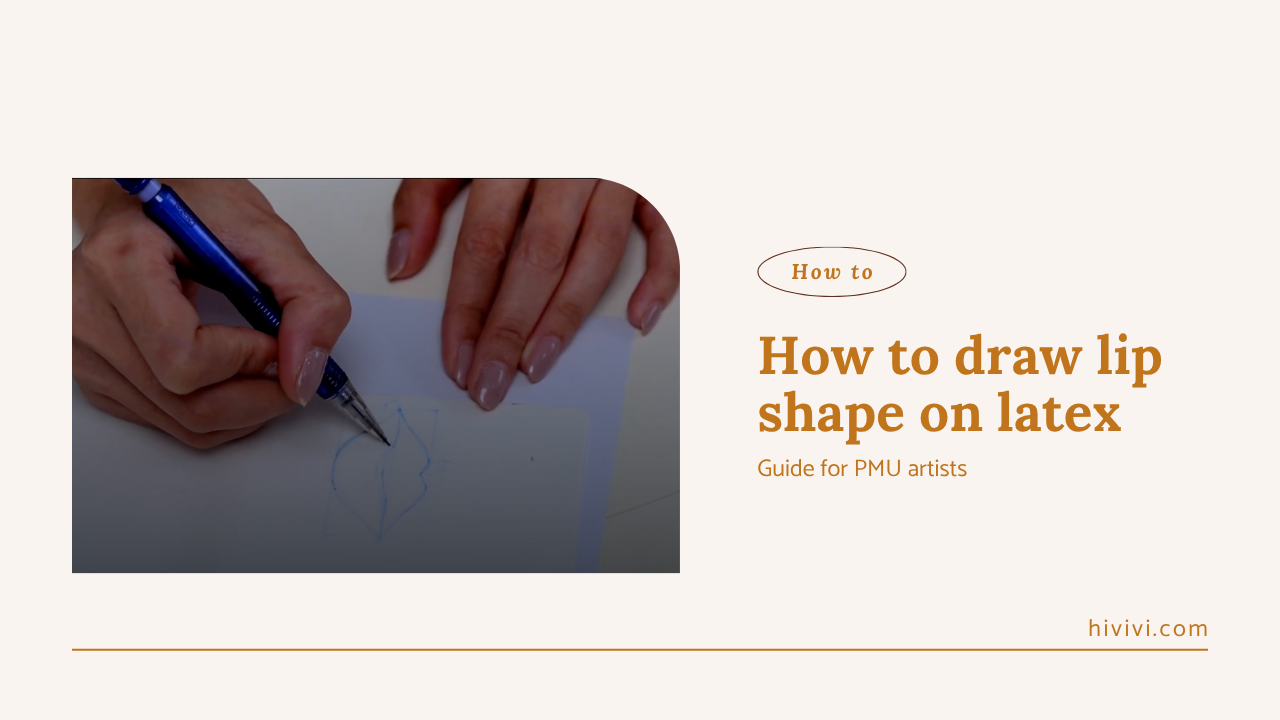
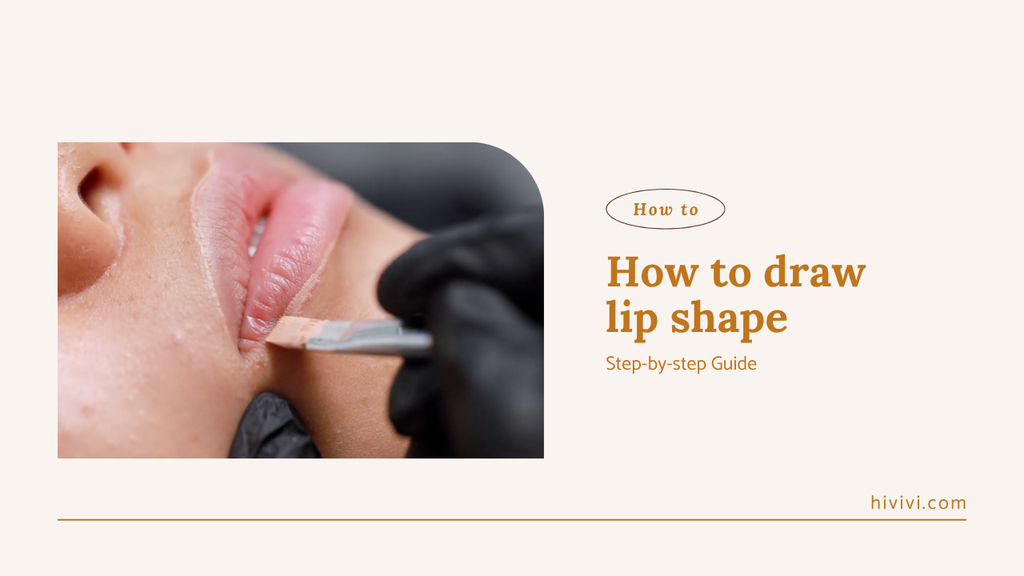
How to draw lip shape: step-by-step guide for PMU beginners
2025-06-24 04:17:21
,
Beauty health care
Learn how to draw lip shapes step-by-step for PMU practice. Master proportions, tools, and tips to build confidence as a beginner artist.
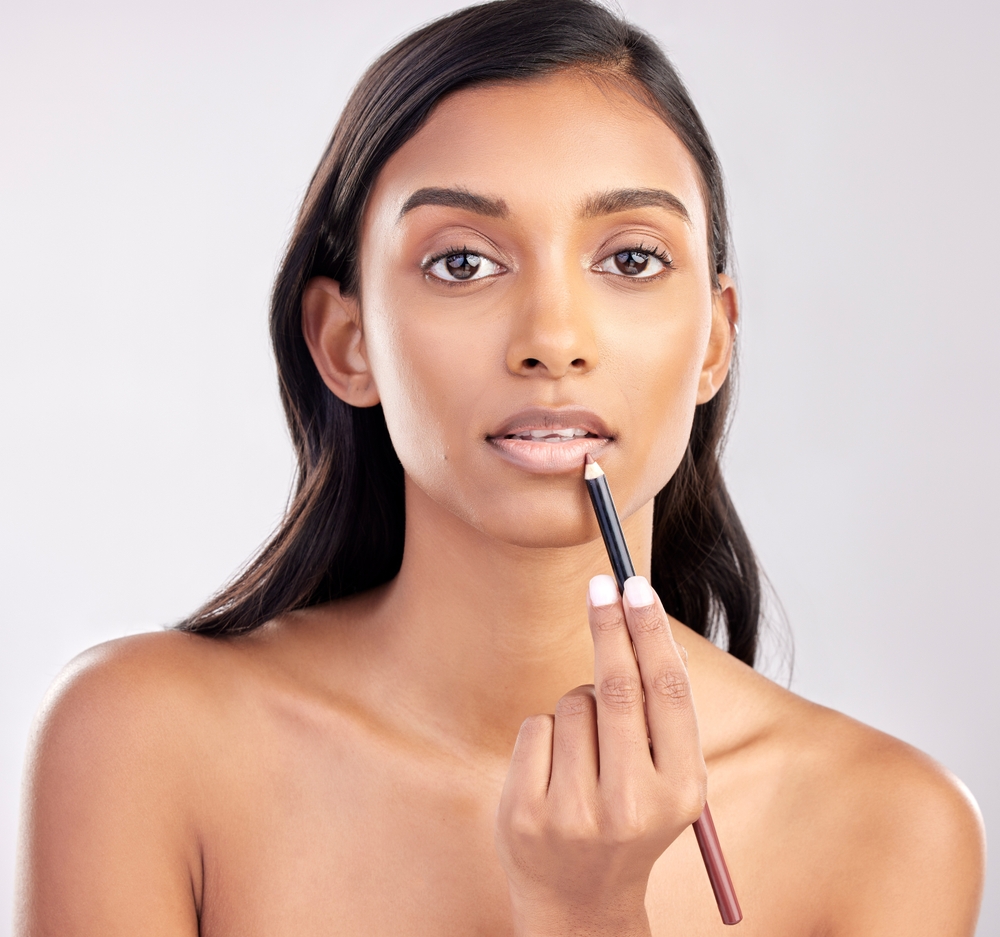
Drawing lip shape is a foundational skill for any PMU (permanent makeup) artist especially if you’re just starting out. Whether you’re practicing on paper, drawing lips on latex, or prepping for your first client, knowing how to sketch balanced, symmetrical lips will elevate your work and boost your confidence.
In this guide, you’ll learn everything you need to master the art of drawing lip shapes from tools and anatomy to techniques, common mistakes, and expert-backed practice tips.
Why learning to draw lip shapes matters in PMU
Before you pick up your PMU machine, you need to feel confident in the pre-drawing stage. Drawing lip shapes is more than a sketch, it's the blueprint for the entire procedure. Clean outlines help you visualize the final result, explain options to clients, and prevent asymmetry during the tattooing process.
Practicing lip shapes also helps you:
- Understand different lip types and proportions
- Improve symmetry and spacing
- Communicate clearly with clients about the final outcome
For beginner artists, drawing is the safest place to start building hand control and spatial awareness.
Tools you need to practice drawing lip shapes
Basic tools for paper or latex practice
- Pencil or PMU brow marker for sketching
- White paper or PMU practice sheets
- Lip shape stencils (optional, great for beginners)
- Latex practice skin (recommended for realistic feel)
- Ruler or symmetry divider (for measuring proportions)
Use lip grids or printouts to guide your sketches. These help you visualize even spacing and alignment. You can also use drawing apps or a tablet for digital tracing. Hivivi offers downloadable practice sheets tailored for PMU check our resources section to grab yours.
Understanding lip anatomy and proportions
Key areas of the lips to know
- Cupid’s bow: The double-curve at the center of the upper lip
- Philtrum: The two vertical ridges between the upper lip and nose
- Vermillion border: The natural edge of the lips
- Oral commissures: The corners of the mouth
- Tubercle: The slight bulge in the center of the upper or lower lip
Golden ratios and symmetry
While no face is perfectly symmetrical, having balance is essential in PMU. Use vertical and horizontal guidelines to map:
- Center line (midpoint of face or latex skin)
- Equal halves for both sides of the lips
- Consistent width and height based on facial proportions
Step-by-step: how to draw a lip shape correctly
Follow this simple 5-step method to build a clean and proportionate lip shape, suitable for PMU design or lip blush tattooing practice.
Step 1: Start with a center vertical line
This line will anchor your design and help maintain symmetry. Always draw it lightly as a guide.
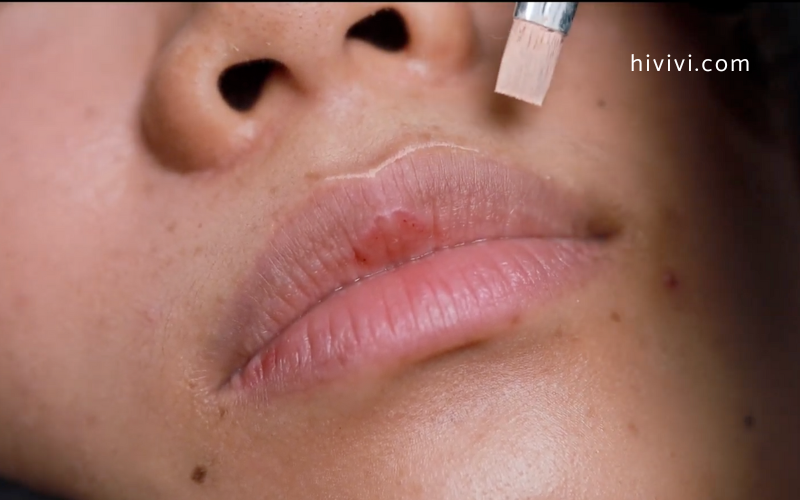
Step 2: Sketch the Cupid’s bow and upper lip
Begin with the double-curve of the Cupid’s bow. Extend each side outward, curving gently downward to form the top lip line.
Step 3: Draw the lower lip with fullness
Start from one corner, curve downward and back up to the other side. The bottom lip is usually fuller and should reflect natural volume.
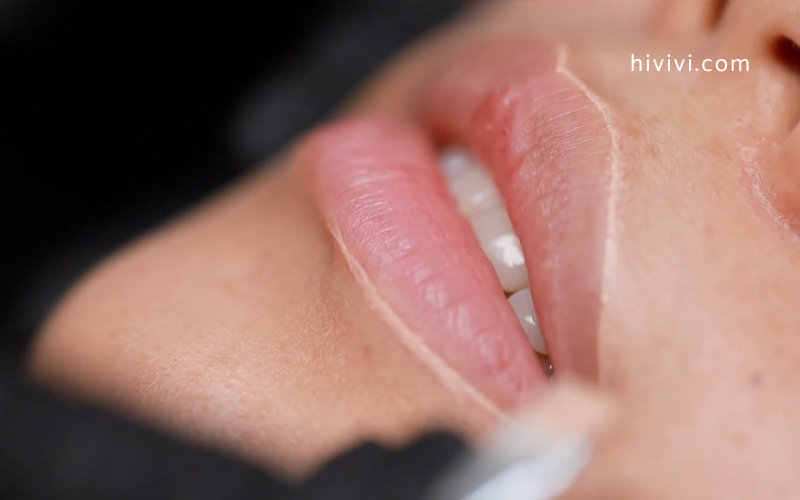
Step 4: Connect the corners smoothly
Avoid making harsh angles at the oral commissures. Blend both top and bottom lines into soft, rounded corners.
Step 5: Refine and adjust
Erase guidelines, smooth out curves, and adjust thickness if needed. The finished shape should look natural, balanced, and client-ready.
Common mistakes to avoid when drawing lips
Even experienced artists slip into habits that affect their sketches. Be mindful of these common errors, especially as a beginner:
- Drawing the lips too small or wide for the face
- Making the Cupid’s bow too sharp or uneven
- Over-rounding the lower lip
- Ignoring the corners (commissures) or exaggerating them
- Rushing without marking guidelines
Pro tip: Always check your design from different angles or flip your canvas to spot asymmetry.
Practice tips for PMU artists
Use tracing and repetition
- Start by tracing over lip photos or templates
- Repeat the same shape multiple times to build flow
Work from real models or references
- Study various lip types: full, thin, asymmetrical
- Observe how lips sit in relation to the nose and chin
Record and review your process
- Take a photo and flip it to check symmetry
- Video yourself drawing to analyze hand positioning and pressure
Where to apply this skill in PMU procedures
Your ability to draw lips directly affects every PMU lip service you offer. Here’s where it makes an impact:
- Pre-drawing before lip tinting or blushing: Helps guide pigment placement
- Consultations with clients: Visual mock-ups increase trust
- Symmetry corrections: You’ll better spot and adjust irregularities
- Creating visual content: Clean sketches look professional for social media and portfolios
Final thoughts: build confidence through consistent practice
Drawing lip shapes is a skill that grows with every pencil stroke. It might feel awkward at first, but the more you practice, the more confident and intuitive it becomes.
Be patient with your progress. Even seasoned PMU artists began by sketching on paper or latex. Keep refining, and don’t forget to compare your sketches with real lips. Your future clients will thank you for the precision and care you’ve invested.
FAQs about drawing lip shapes
What is the best way to draw symmetrical lips?
Use a vertical center line and horizontal guidelines to map both sides. Check your shape by flipping or mirroring the image.
How can I practice lip shapes for PMU?
Start on paper using templates, then move to latex skins. Repeat the same shape multiple times to build consistency.
Are there tools to help with lip outlining?
Yes. Use stencils, symmetry rulers, or printable grids to guide proportions especially useful for beginners.
How do different lip shapes affect PMU results?
Every lip type requires slight adjustments in shape, fullness, and outline. Studying various lips helps you create custom, flattering designs.
Can I use digital tools to learn lip drawing?
Absolutely. Apps like Procreate or digital sketchbooks let you trace and experiment without wasting materials.